Mark Sweeney Real Estate
Thursday, March 15, 2012
19 ANTIBES, Laguna Niguel, CA 92677
19 ANTIBES, Laguna Niguel, CA 92677
Bedrooms : 2
Bathrooms : 2.5
Property Type :
Condominium/A
Stories : 2
Est Sq Ft :
1,922
Year Built :
1986
Leasing Price : $3,000
For complete and FREE information about Homes in Laguna Niguel please go to:
http://www.homesearch2u.net/antibes/
Tuesday, February 7, 2012
27222 CALLE JUANITA, Dana Point, CA 92624
27222 CALLE JUANITA, Dana Point, CA 92624
Bedrooms : 2
Bathrooms : 2.5
Property Type : Single Family Residence/D
Stories :1
Est Sq Ft :1,505
Year Built : 1955
Listing Price : $495,000
For complete and FREE information about Homes in Dana Point please go to:
http://homesearch2u.com/27222_CALLE_JUANITA.html
89 RITZ COVE DR, Dana Point, CA 92629
89 RITZ COVE DR, Dana Point, CA 92629
Bedrooms : 5
Bathrooms : 4.5
Property Type : Single Family Residence/D
Stories : 2
Est Sq Ft : 4,800
Year Built : 2001
Leasing Price : $10,000
For complete and FREE information about Homes in Dana Point please go to:
http://homesearch2u.com/89_RITZ_COVE_DR.html
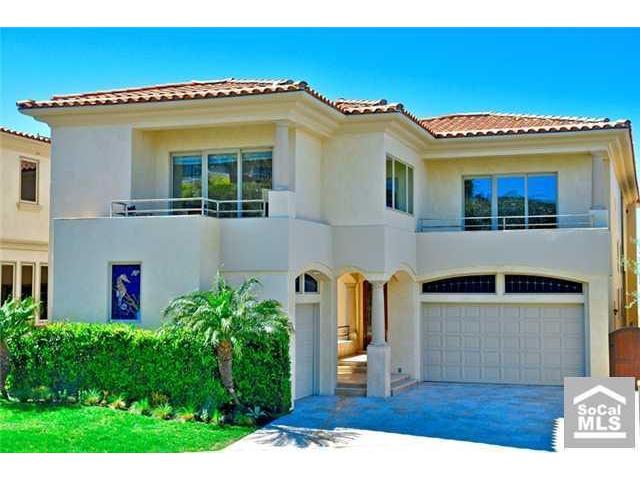
30 RITZ COVE DR, Dana Point, CA 92629
30 RITZ COVE DR, Dana Point, CA 92629
Bedrooms : 6
Bathroms : 6 full 2 half
Property Type : Single Family Residence/D
Stories : Three or More Levels
Est Sq Ft : 8,600
Year Built : 1992/ASR
Listing Price : $6,999,000
For complete and FREE information about Homes in Dana Point please go to:
http://homesearch2u.com/30_RITZ_COVE_DR.html
Friday, December 30, 2011
33675 MAGELLAN, Dana Point, CA 92629
33675 MAGELLAN, Dana Point, CA 92629
Bedrooms :
4
Bathrooms :
4.5
Property Type :
Single Family Residence/D
Stories :
1
Est Sq Ft :
2,502
Year Built :
1976/ASR
Listing Price :
$2,750,000
For complete and FREE information about Homes in
Dana Point
please go to:
http://homesearch2u.com/33675_MAGELLAN.html
Wednesday, December 28, 2011
Prudential California Realty
Tuesday, December 20, 2011
Older Posts
Home
Subscribe to:
Posts (Atom)